使用Springboot进行后端搭建的记录
环境配置
- jdk 1.8
- mysql 5.7+
- node 16.19.0
- navicat
- IDEA2021.3
使用Springboot进行后端搭建
项目依赖
- Lombok
- Spring Web
- MySQL Driver
- MyBatis Framework
此处默认已安装MySQL和Navicat
项目结构
使用idea的springboot框架自动创建项目后,得到如下项目结构

其中src是主程序文件夹,pom.xml是依赖的配置文件,包含了依赖的版本等信息。
配置数据库
数据库配置文件在/src/main/resources目录下的application.yml文件,需要先对它进行配置
我的测试用数据库配置如下,其中数据库连接地址中test字段为用户数据库的名字,需根据实际情况修改,serverTimezone也应根据所在地自行更改时区(GMT%2b8为东八区)
1
2
3
4
5
6
7
8
9
10
11
12
13
14
15
16
17
18
19
|
spring:
datasource:
driver-class-name: com.mysql.cj.jdbc.Driver
name: defaultDataSource
url: jdbc:mysql://localhost:3306/test?serverTimezone=GMT%2b8
username: ****
password: ******
server:
port: 9090
mybatis:
mapper-locations: classpath:mapper/*.xml
|
首先在springboot文件目录下创建entity层(也叫model层、domain层)用于存放我们的实体类,与数据库中的属性基本保持一致,实现set和get的方法(此处使用的@Data注解包含了set和get方法,故没有在下面体现)
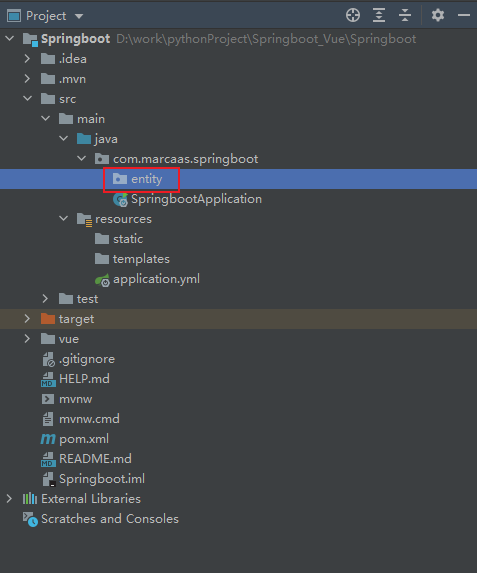
在entity包下创建实体类与之前创建的数据库的结构对应,如下图所示

1
2
3
4
5
6
7
8
9
10
11
12
13
14
15
| package com.marcaas.springboot.entity;
import lombok.Data;
@Data
public class User {
private Integer id;
private String username;
private String password;
private String nickname;
private String email;
private String phone;
private String address;
}
|
这里使用了lombok插件的@Data注解来代替繁琐的对每个变量的get和set方法,更加简洁
在springboot文件夹下创建mapper层(也叫dao层),对数据库进行数据持久化操作,方法语句是直接针对数据库操作的,主要实现一些增删改查操作,在mybatis中方法主要与xxx.xml内相互一一映射
在mapper层创建Interface接口类UserMapper
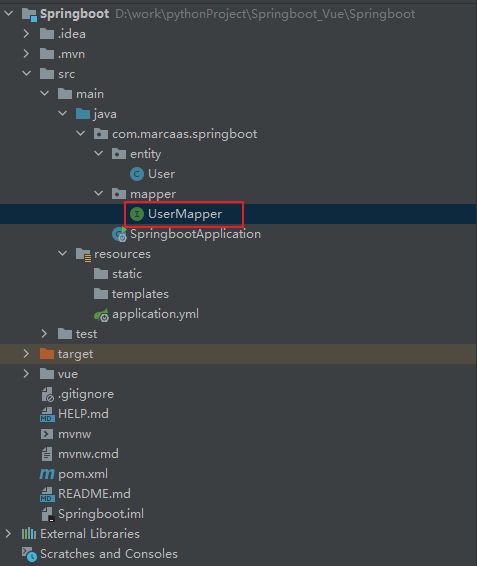
并对其进行编辑
1
2
3
4
5
6
7
8
9
10
11
12
13
14
15
16
17
18
19
20
21
22
23
24
25
26
27
28
29
| package com.marcaas.springboot.mapper;
import com.marcaas.springboot.entity.User;
import org.apache.ibatis.annotations.*;
import javax.jws.soap.SOAPBinding;
import java.util.List;
@Mapper
public interface UserMapper {
@Select("SELECT * from sys_user")
List<User> findAll();
@Select("INSERT into sys_user(username,password,nickname,email,phone,address) " +
"VALUES(#{username},#{password},#{nickname},#{email},#{phone},#{address})")
Integer insert(User user);
Integer update(User user);
@Delete("delete from sys_user where id = #{id}")
Integer deleteById(@Param("id") Integer id);
@Select("select * from sys_user limit #{pageNum}, #{pageSize}")
List<User> selectPage(Integer pageNum, Integer pageSize);
@Select("select count(*) from sys_user")
Integer selectTotal();
}
|
此处的注解Select是Mybatis提供的
创建controller层(也叫web层),负责具体模块的业务流程控制,需要调用service逻辑设计层的接口来控制业务流程。因为service中的方法是我们使用到的,controller通过接受前端H5或App传来的参数进行业务操作,再将处理结果返回到前端。
在controller层下创建UserController.java文件,并编辑新增接口和查询接口
1
2
3
4
5
6
7
8
9
10
11
12
13
14
15
16
17
18
19
20
21
22
23
24
25
26
27
28
29
30
31
32
33
34
35
36
37
38
39
40
41
42
43
44
45
46
47
48
49
50
51
52
53
54
55
56
| package com.marcaas.springboot.controller;
import com.marcaas.springboot.entity.User;
import com.marcaas.springboot.mapper.UserMapper;
import com.marcaas.springboot.service.UserService;
import org.springframework.beans.factory.annotation.Autowired;
import org.springframework.web.bind.annotation.*;
import java.util.HashMap;
import java.util.List;
import java.util.Map;
@RestController
@RequestMapping("/user")
public class UserController {
@Autowired
private UserMapper userMapper;
@Autowired
private UserService userService;
@PostMapping
public Integer save(@RequestBody User user) {
return userService.save(user);
}
@GetMapping
public List<User> index() {
return userMapper.findAll();
}
@DeleteMapping("/{id}")
public Integer delete(@PathVariable Integer id) {
return userMapper.deleteById(id);
}
@GetMapping("/page")
public Map<String, Object> findPage(@RequestParam Integer pageNum, @RequestParam Integer pageSize) {
pageNum = (pageNum - 1) * pageSize;
List<User> data = userMapper.selectPage(pageNum, pageSize);
Integer total = userMapper.selectTotal();
Map<String, Object> res = new HashMap<>();
res.put("data", data);
res.put("total", total);
return res;
}
}
|
实现增删改查